0

Your Cart


Product title goes here
$19.95
Thank you! Your submission has been received!
Oops! Something went wrong while submitting the form.
No items found.

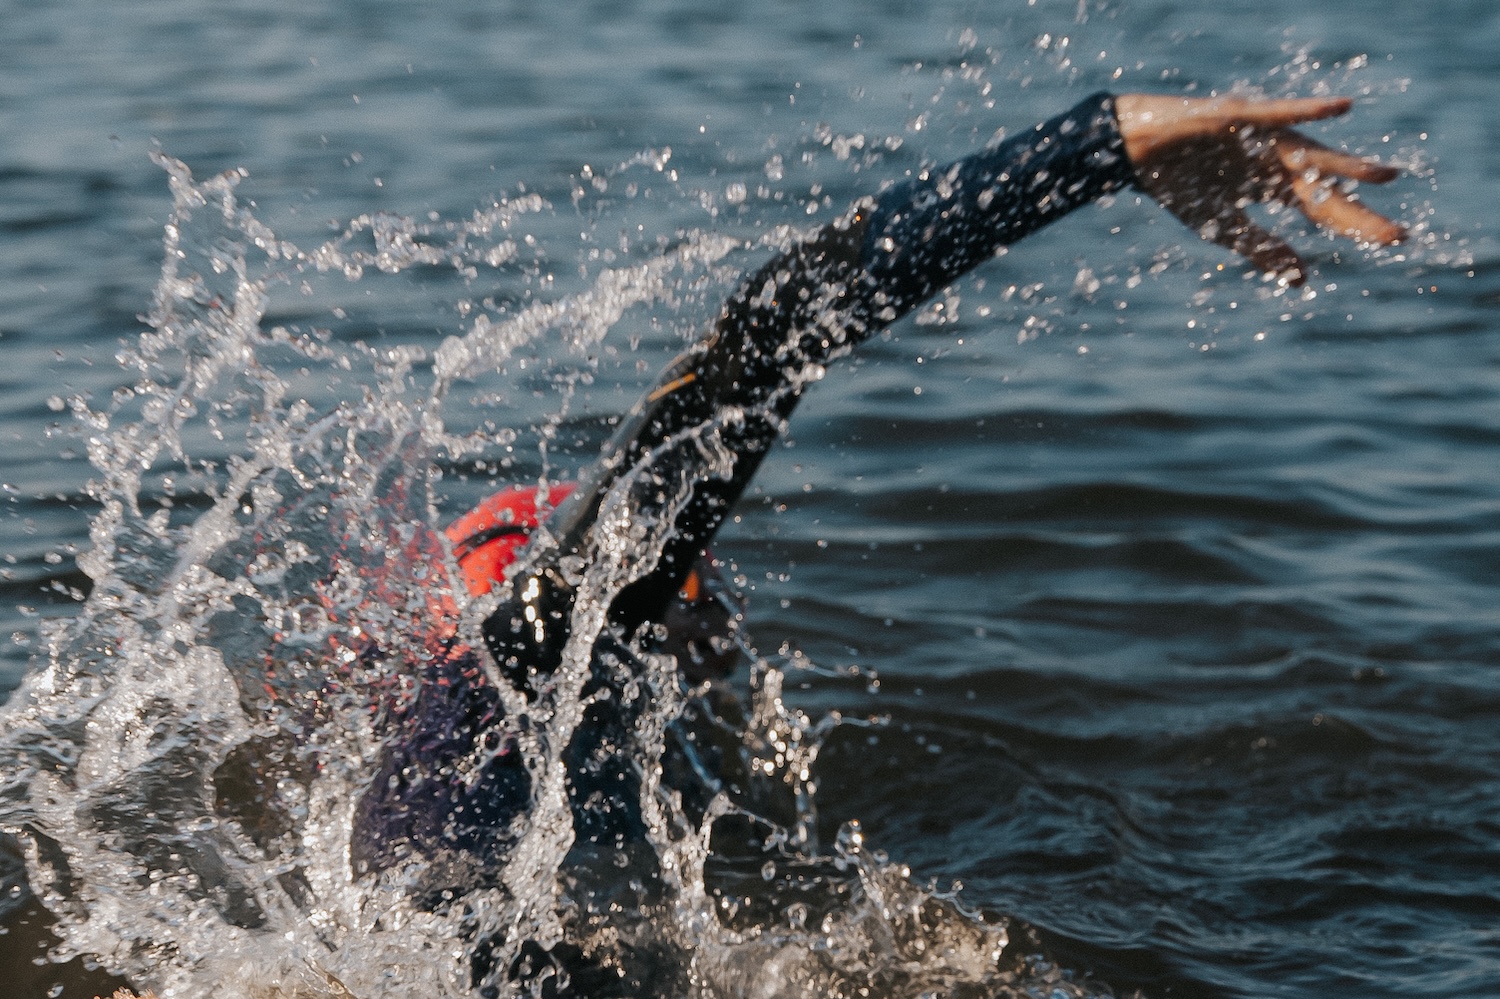
How to Repair a Wetsuit: A Step-by-Step Guide

Ripping your wetsuit feels like a nightmare. They cost a fortune, they’re tricky to recycle, & once there’s a hole you assume it’s game over. That was me a few weeks back, when I managed to tear my favourite wetsuit by diving in a bit too enthusiastically.
But here’s the good news: repairing a wetsuit is quick, cheap & totally doable at home. Catch Co-Founder Will (our resident fixer) showed me how - & all you really need is a neoprene repair kit that costs about £10.
In this guide, I’ll walk you through exactly how to repair a wetsuit tear, plus what to do if the damage is bigger.
Most wetsuit repair kits include:

Step 1 – Rinse & dry Before you do anything, rinse your wetsuit in fresh water & make sure it’s completely dry. Any leftover saltwater or moisture will stop the glue from working properly.
Step 2 – Assess the damage Check whether it’s a small tear or a larger hole. Small tears can be fixed with neoprene glue. Bigger rips may need a patch.
Step 3 – Apply neoprene glue Squeeze a thin line of glue directly into the tear. Use the small brush that comes with most kits to spread it evenly so the glue gets deep into the crack.
Step 4 – Let it dry Work on one side first. Leave the glued area to dry for a few hours, then flip it over & do the same on the other side.
Step 5 – Repair larger holes If you’re dealing with a big rip, cut a piece of neoprene patch from the kit & glue it into place. This takes a bit longer but will give your wetsuit plenty more life.
Learning how to repair a wetsuit is one of those skills every open water swimmer should have. A small tear doesn’t have to mean the end of your kit — with a little neoprene glue & patience, you can fix it yourself at home.
So next time you spot a hole, don’t bin it. Grab a repair kit, follow these steps, & save your wetsuit (and your wallet).
Ripping your wetsuit feels like a nightmare. They cost a fortune, they’re tricky to recycle, & once there’s a hole you assume it’s game over. That was me a few weeks back, when I managed to tear my favourite wetsuit by diving in a bit too enthusiastically.
But here’s the good news: repairing a wetsuit is quick, cheap & totally doable at home. Catch Co-Founder Will (our resident fixer) showed me how - & all you really need is a neoprene repair kit that costs about £10.
In this guide, I’ll walk you through exactly how to repair a wetsuit tear, plus what to do if the damage is bigger.
Most wetsuit repair kits include:
Step 1 – Rinse & dry Before you do anything, rinse your wetsuit in fresh water & make sure it’s completely dry. Any leftover saltwater or moisture will stop the glue from working properly.
Step 2 – Assess the damage Check whether it’s a small tear or a larger hole. Small tears can be fixed with neoprene glue. Bigger rips may need a patch.
Step 3 – Apply neoprene glue Squeeze a thin line of glue directly into the tear. Use the small brush that comes with most kits to spread it evenly so the glue gets deep into the crack.
Step 4 – Let it dry Work on one side first. Leave the glued area to dry for a few hours, then flip it over & do the same on the other side.
Step 5 – Repair larger holes If you’re dealing with a big rip, cut a piece of neoprene patch from the kit & glue it into place. This takes a bit longer but will give your wetsuit plenty more life.
Learning how to repair a wetsuit is one of those skills every open water swimmer should have. A small tear doesn’t have to mean the end of your kit — with a little neoprene glue & patience, you can fix it yourself at home.
So next time you spot a hole, don’t bin it. Grab a repair kit, follow these steps, & save your wetsuit (and your wallet).
Looking for the best apps for open water swimming? From structured training with Catch to UK water quality alerts, weather forecasting, river flow data & social motivation, here’s what to download before your next wild swim.
Read NowGo back and browse all blogs →Get a personalised training plan & weekly technique lessons - plus a personal swim coach on hand whenever you need them.
Completely tailored to you & your goals.